
Insights & Updates
Canned Beer Packaging Process: From Empty Can to Finished Pack
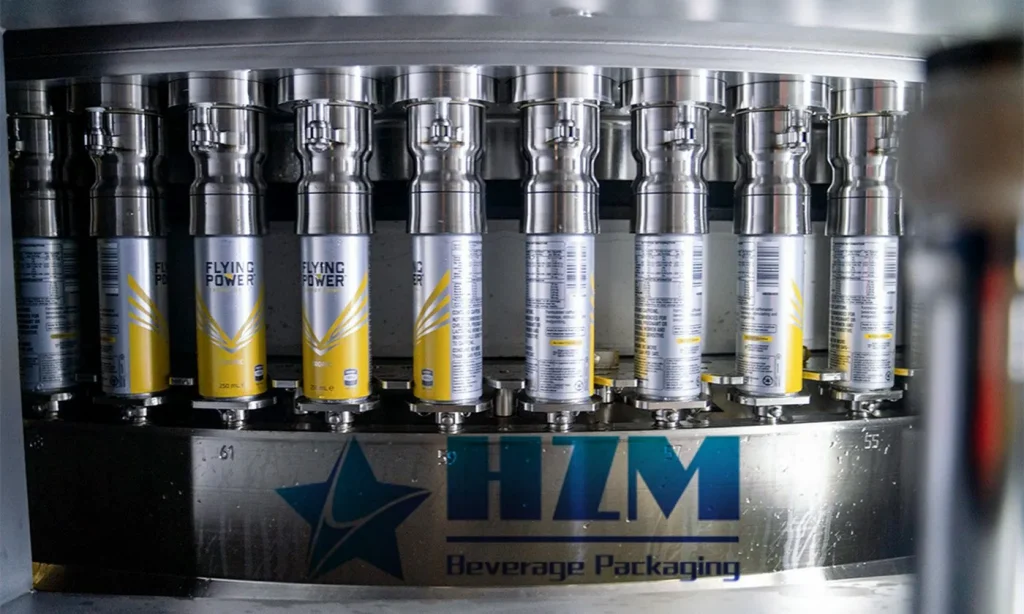
Canned beer quality can be damaged in a few seconds if the package picks up oxygen, loses carbonation or receives a weak seam. A reliable canning line therefore controls more than fill volume. It protects the empty can, prepares it for filling, manages carbon dioxide, creates a verified seam and keeps the finished package traceable through inspection and coding.
The exact process depends on beer style, brewery hygiene, required shelf life, can and end specification, and whether the product is tunnel pasteurized. The following workflow gives project teams a practical basis for line design and operating checks.
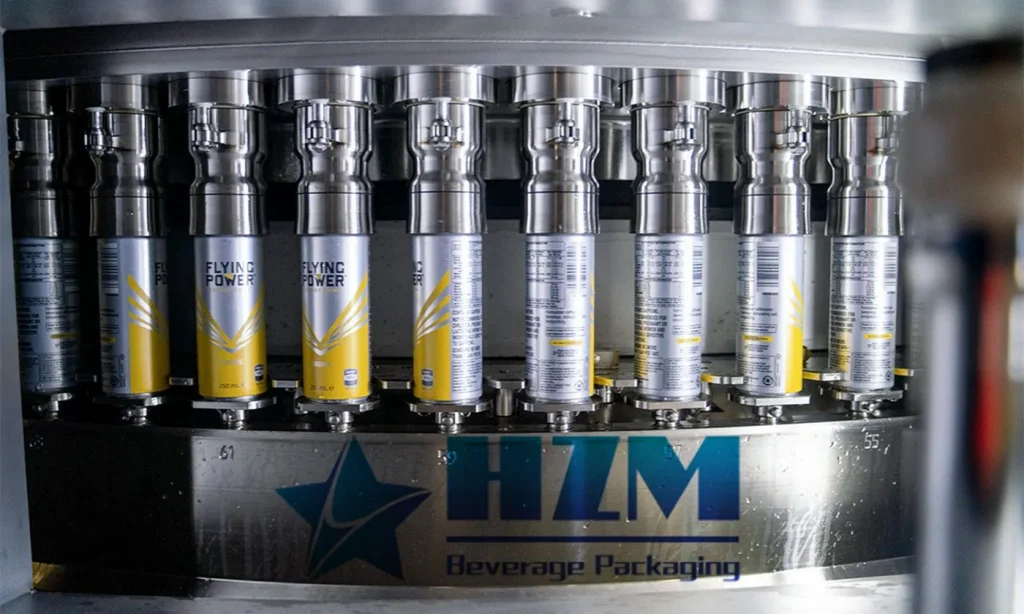
Typical canned beer packaging flow
Empty-can depalletizing → conveying → can preparation → CO₂ purging → counter-pressure filling → end placement → seaming → package rinsing → inspection → coding → pasteurization when required → drying → case or shrink packing → palletizing
Some operations place the pasteurizer before final inspection or use additional coding and leak-detection steps. The line layout should reflect the brewery’s verified process and available utilities.
1. Empty-can depalletizing and conveying
Cans arrive in layers and need controlled transfer into a single-file conveyor. The depalletizer should avoid denting bodies or damaging the flange, because a small defect at the top of the can may affect seaming. Remove visibly damaged or contaminated cans before they reach the filler.
Conveyors need enough accumulation to absorb short disturbances without excessive can-to-can pressure. Guides should support the body without scratching printed cans or creating unstable transfers.
2. Can preparation
Empty cans are normally inverted or otherwise prepared using a method defined by the brewery’s hygiene program. Ionized air, filtered water or another approved treatment may be used depending on plant standards and can condition. The goal is to remove loose contamination without introducing a new microbial or chemical risk.
Drainage is important. Residual rinse water can dilute the beer and affect dissolved oxygen. Keep the open-can path protected and as short as practical after preparation.
3. CO₂ purging and filling
Before filling, the can may be purged with carbon dioxide to reduce air in the package. The filler then establishes conditions that allow beer to enter with controlled foaming and carbonation loss. Product temperature, carbonation, bowl pressure and valve timing all influence performance.
A colder, stable beer supply usually fills more predictably than beer whose temperature changes through the run. However, operating targets must follow the brewery’s process and equipment specification. Excessive foam can reduce net content, wet the sealing area and increase product loss. Too little controlled foam at the correct stage may leave more air in the headspace.
Measure dissolved oxygen and package oxygen using an appropriate method and sampling plan. Do not rely on visual foam alone.
4. End placement and double seaming
After filling, an end is placed on the can and the seamer forms the double seam in controlled operations. The can body, end and seamer tooling must be compatible. Worn rolls, incorrect lift pressure, damaged chucks or variation in incoming materials can create defects that are difficult to see externally.
A seam quality program should include scheduled measurements and teardown checks. Typical attributes include seam dimensions, overlap and evidence of wrinkles, droop or other defects. The applicable can supplier and seamer specifications should define acceptance limits. If a seam drifts, quarantine product back to the last confirmed good check until the risk is assessed.
5. External rinsing and package drying
Beer or foam on the can surface should be removed to prevent sticky conveyors, staining and poor downstream packaging. Rinse water must be controlled so it does not enter unsealed product or overwhelm the line drainage system.
Drying before coding and packing improves print quality and prevents trapped moisture inside trays, cartons or shrink film. Air knives should be positioned for effective removal without destabilizing lightweight cans.
6. Inspection and rejection
A line may inspect fill level, end presence, code quality and package damage. The selected method should match the risk and container. Reject devices need confirmation checks so a detected defect is actually removed from the production flow.
Challenge the inspection system with controlled test pieces at a defined frequency. Record the result and stop the line if the system cannot reliably detect or reject the test condition.
7. Date and batch coding
Apply a legible date or batch code on a location that remains readable after packing. The code should connect the finished can with beer batch, packaging materials and production shift. Verify the correct code at startup, after changeover and at planned intervals.
8. Pasteurization when required
Some canned beers use tunnel pasteurization to achieve the specified microbial stability; others are packaged under a different validated process. Pasteurization is not a universal temperature-and-time recipe. Product characteristics, package size, process target and equipment behavior all matter.
Where a tunnel pasteurizer is used, monitor zone temperatures, conveyor speed and package exposure. Control heating and cooling to protect product flavor and avoid excessive package pressure. Investigate blocked nozzles or uneven spray distribution because the display temperature alone may not represent every can position.
9. Secondary packaging and palletizing
Cans may be packed in trays, cartons, multipacks or shrink-wrapped bundles. Confirm the commercial can count, arrangement, film or carton grade, code visibility and distribution test requirements. A beverage packaging machine should be trialed with filled cans because their weight and surface condition affect handling.
Critical operating checks
- Beer temperature and carbonation remain inside the approved operating window.
- CO₂ supply is stable and the filling environment has suitable ventilation.
- Fill volume and package oxygen are sampled using defined methods.
- Seams are measured on schedule and after any adjustment or material change.
- Inspectors and reject devices pass their challenge tests.
- Codes are correct, legible and linked to production records.
- Conveyor stops do not leave product exposed outside validated hold limits.
Information needed to specify a canning line
Provide beer temperature, carbonation, can and end drawings, required cans per hour, oxygen target, pasteurization plan, multipack format and available utilities. HZM can then configure the filling and sealing equipment, conveying, inspection and packing as a coordinated process.
The strongest canned beer line is not simply the fastest. It repeatedly produces correct fill, low oxygen, a verified seam and a package that survives distribution without creating unnecessary beer loss.
Talk to our engineering team
Need help planning your packaging line?
Share your product, bottle and capacity requirements for a practical equipment recommendation.
Equipment
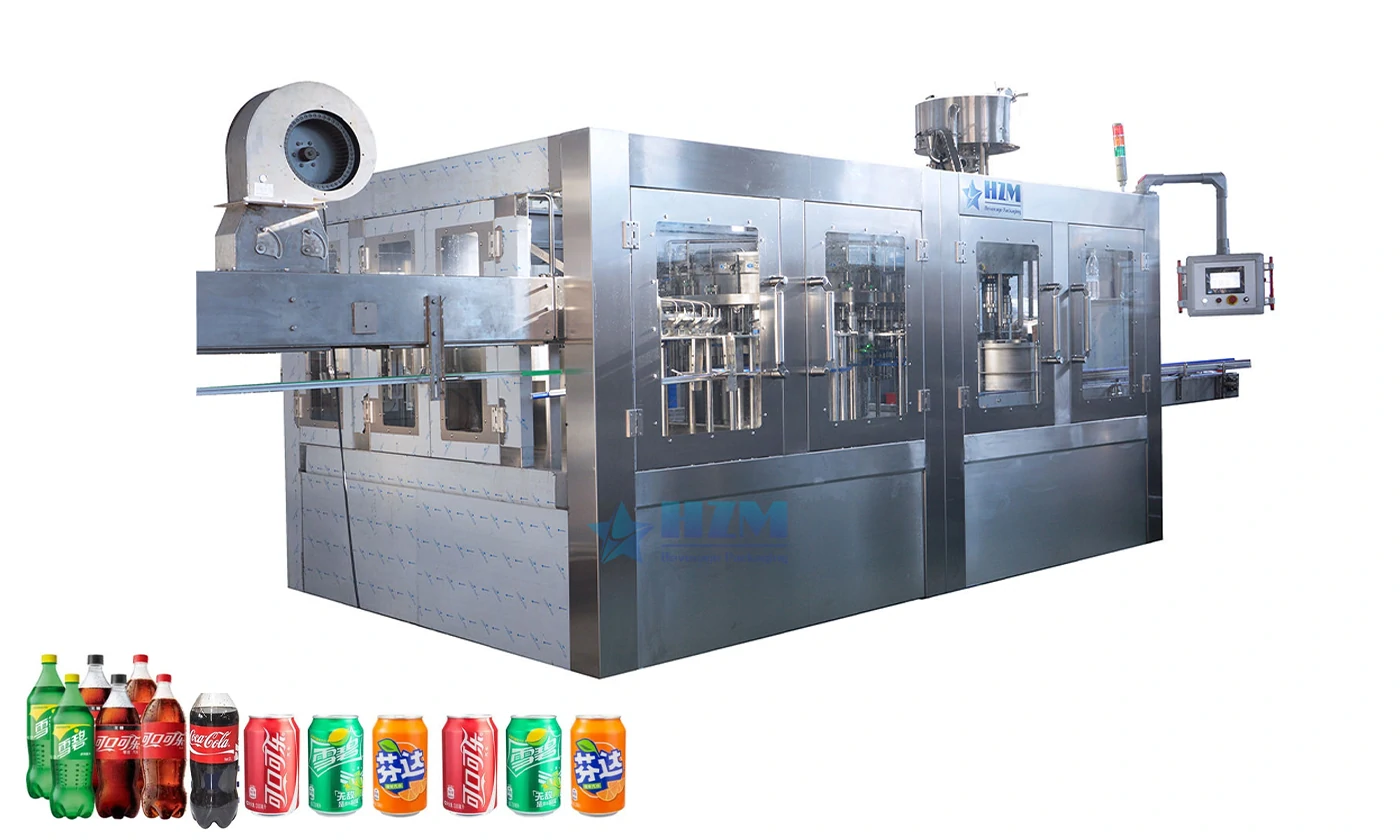
Beverage Packaging Machine for Juice, Soft Drinks, Carbonated Drinks, and Energy Drink
This Beverage Packaging Machine for Juice, Soft Drinks, Carbonated is configured for carbonated soft drinks, soda water and other sparkling beverages; final scope follows…
Learn more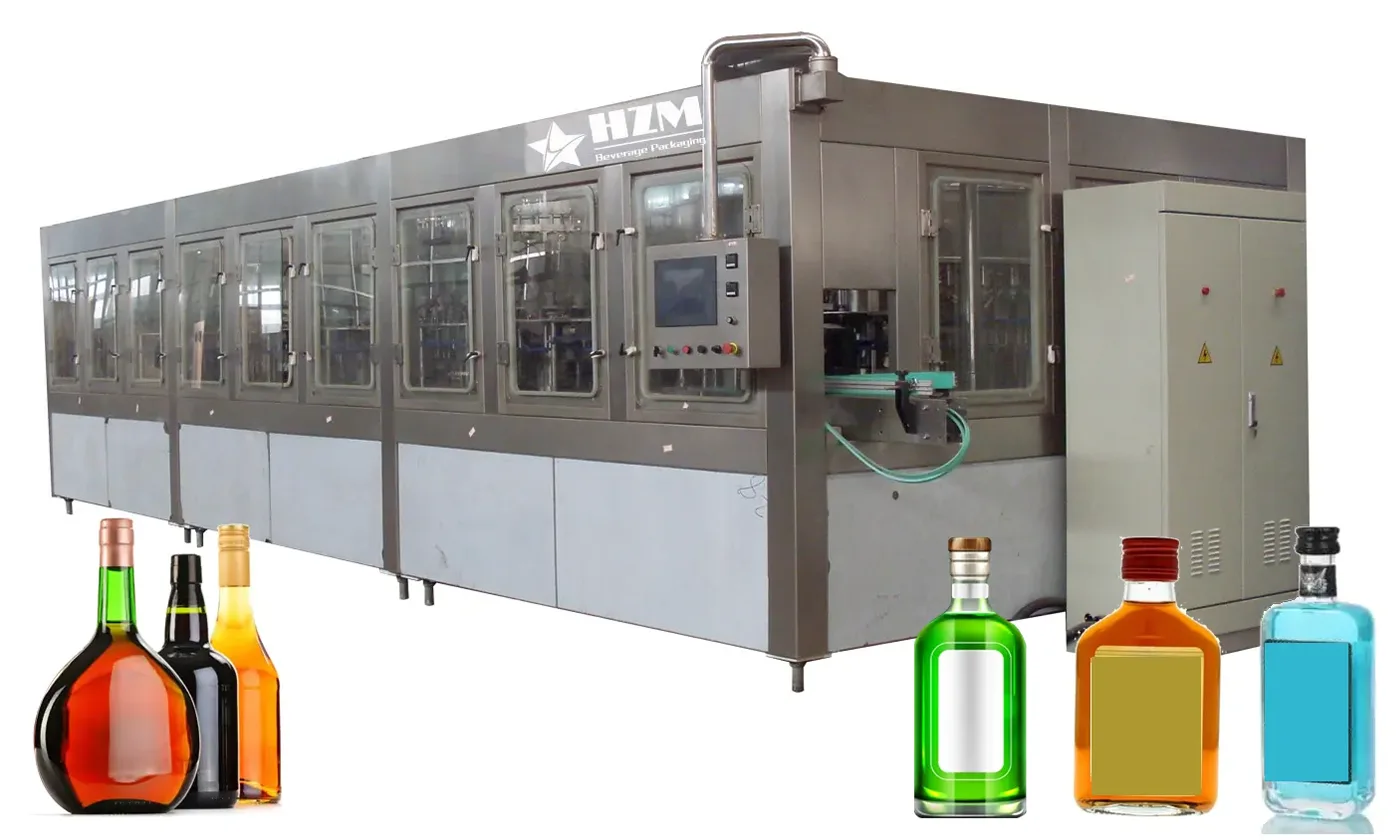
Equipment
Automatic Glass Wine Bottle Filling Machine
This Automatic Glass Wine Bottle Filling Machine is configured for beer, Grape Wine, Vodka Wine, Cocktail, Juice, Beverage at 8000–21000 Bottles/Hour; final scope follows…
Learn more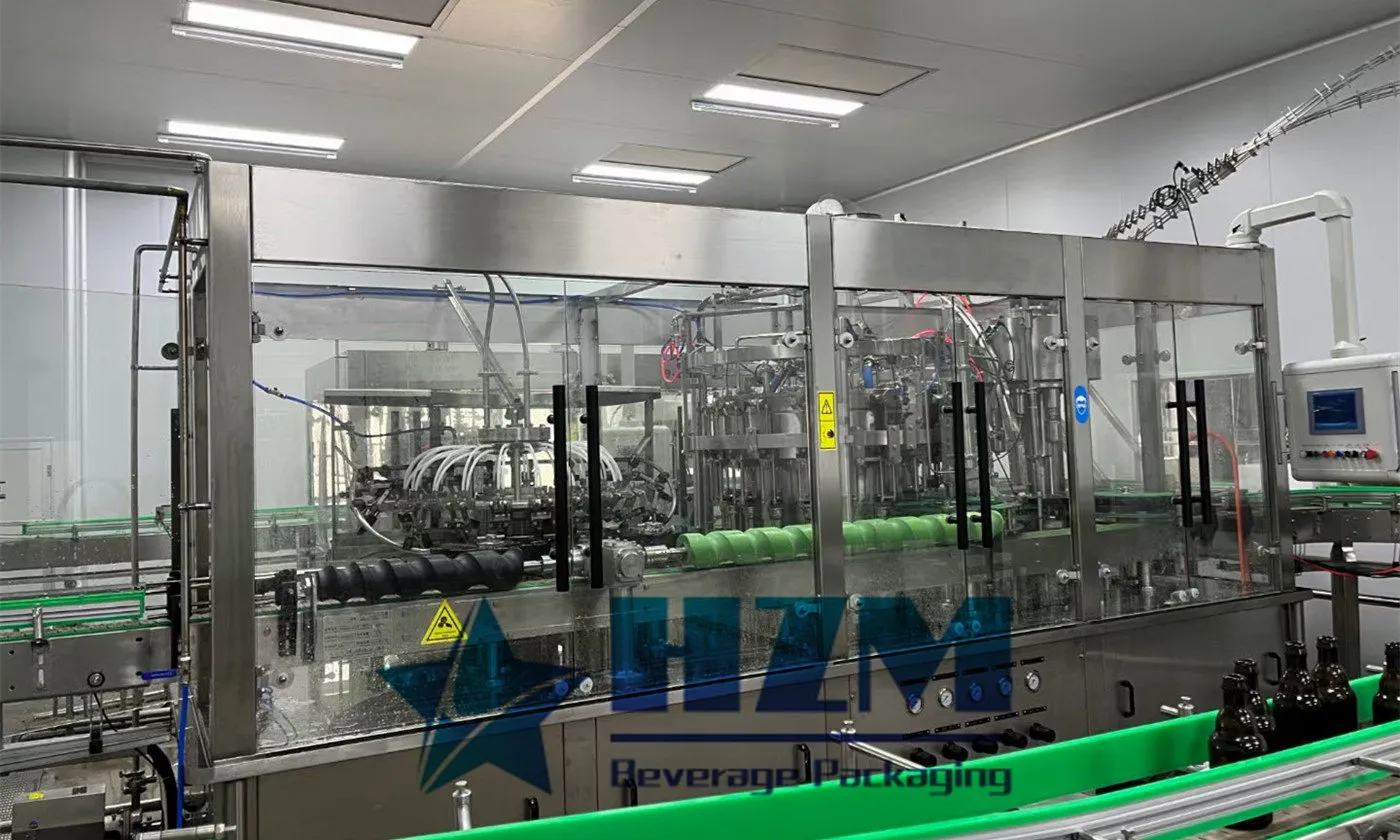
Equipment
Craft Beer Can Filling Machine
This Craft Beer Can Filling Machine is configured for beer and compatible carbonated beverages at 5000BPH; final scope follows the approved process, package and…
Learn more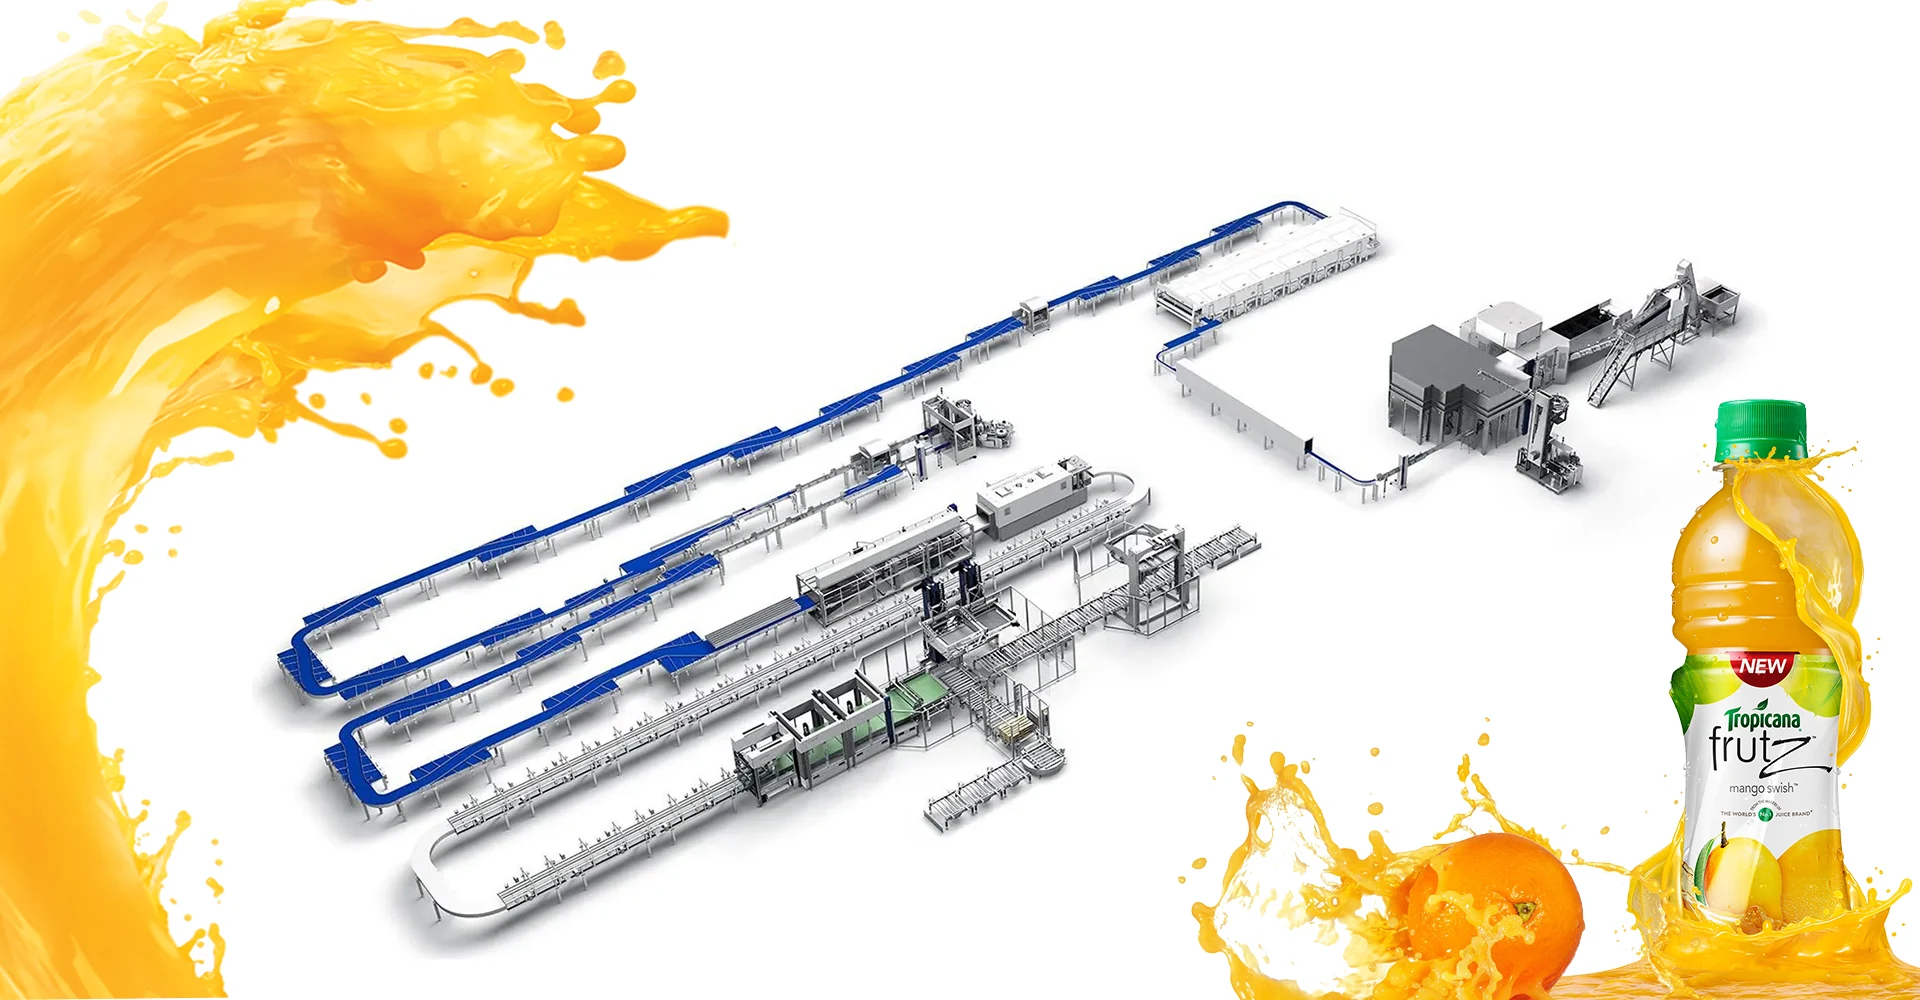
Equipment
Beverage Filling Machine & Turnkey Filling Line for Juice, Soft Drinks and Cans
This Beverage Filling Machine & Turnkey Filling Line for Juice is configured for juice, tea, carbonated soft drinks, energy drinks, water and beer at…
Learn more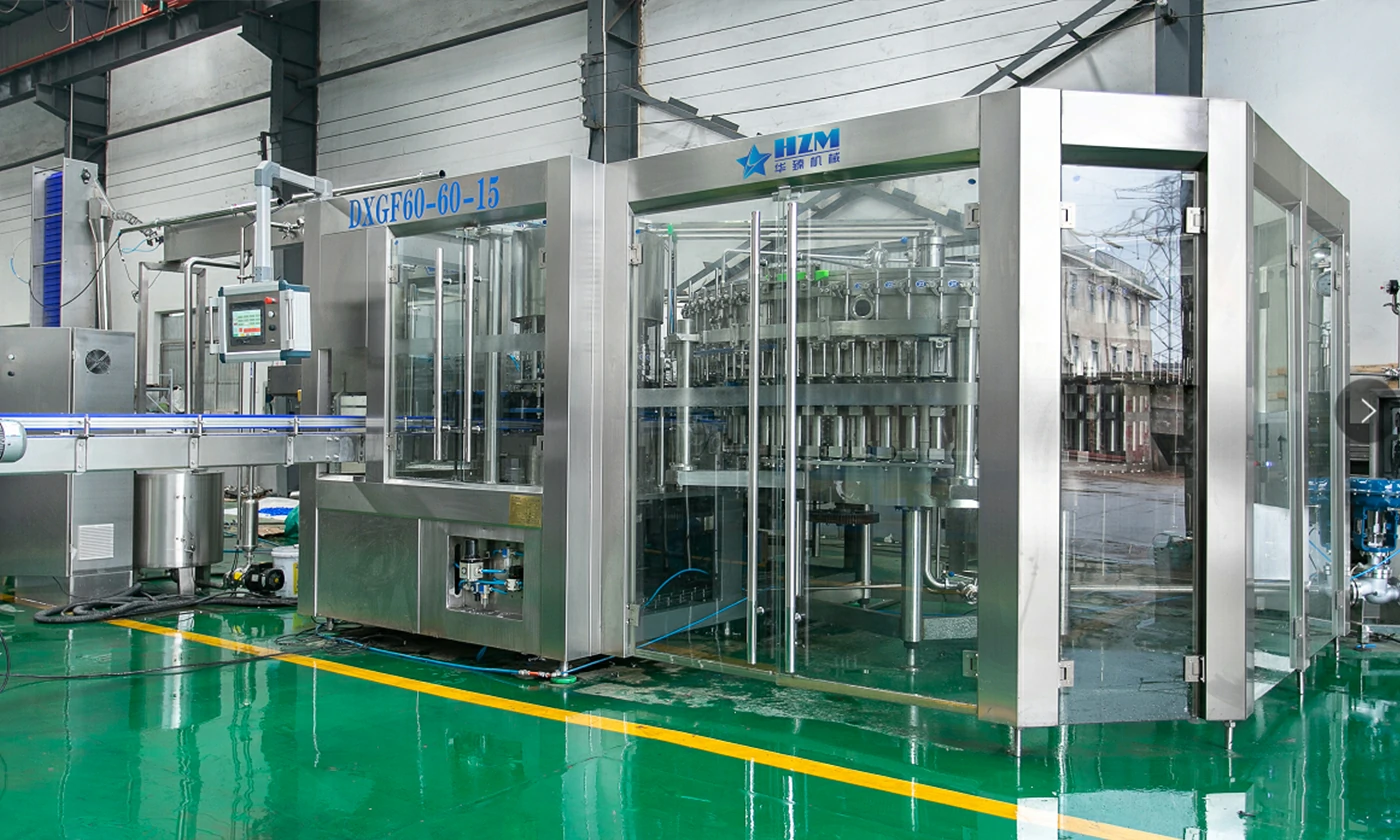
2026-08-16
Glass Bottle Fill Levels Vary by Valve: How to Isolate the Fault
Map the defect by filling valve and bottle lot. Verify bottle internal-volume variation, lift and seal condition, vent-tube depth, valve cleanliness, tank level and product pressure before altering the global fill-height setting. Follow this practical fault-isolation, repair and prevention guide for bottling-line operators and maintenance teams.
Learn more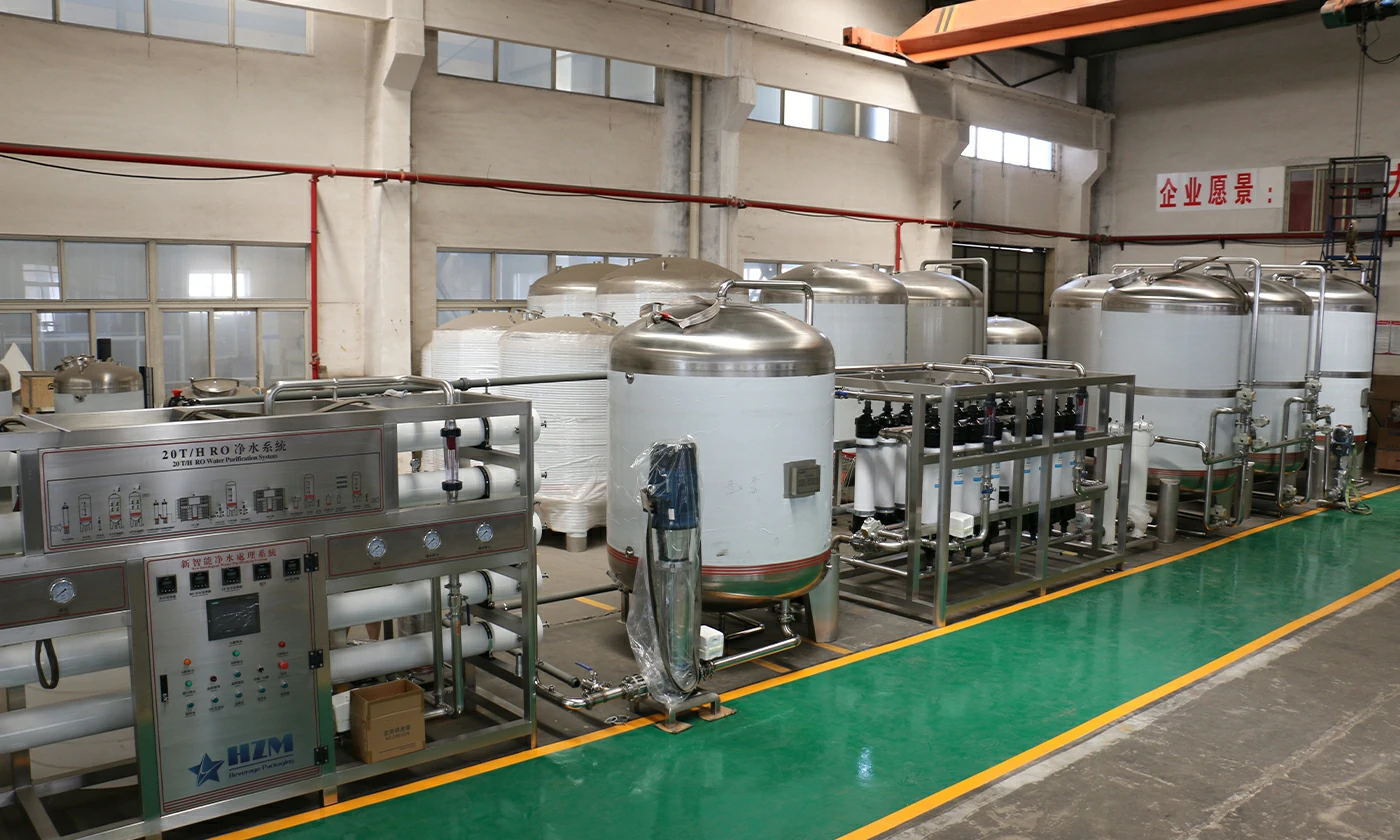
2026-08-12
FAT and SAT Checklist for a Turnkey Beverage Filling Line
Define factory and site acceptance tests for speed, quality, changeover, utilities, documents, safety, training and final line performance.
Learn more
2026-08-11
Filling Machine Spare Parts: Build a Risk-Based Inventory and PM Plan
Classify critical filling-line spares by failure impact, lead time and wear rate, then connect inventory with preventive maintenance and usage records.
Learn more2026-08-10
Beverage Plant Utilities Checklist Before Equipment Installation
Prepare electricity, compressed air, water, steam, cooling, drains, floor loads, ventilation and access before a beverage line arrives.
Learn more
2026-08-09
Can Double-Seam Quality: A Buyer and Operator Inspection Checklist
Protect canned beverage quality with correct end handling, seamer setup, teardown measurements, defect trending and maintenance controls.
Learn more
2026-08-08
Servo Piston Filling for Sauces: Nozzle, Particle Size and Accuracy Checklist
Specify a servo piston filler for ketchup, mayonnaise, soy sauce and particulate products by viscosity, particle size, nozzle, hopper, cleaning and accuracy.
Learn more